How to Use a Face Cupping Kit
Branded Content by Cosmic Press
By now, many of us have heard of cupping. It’s a process of using large suction cups to improve circulation and even reduce pain in various parts of your body.
It may sound a little strange, but many people claim to get some profound benefits from body cupping. And now, there’s a similar technique that can be used on your face.
If you would like to try out face cupping with an at-home kit, it can seem a little foreign to you. Here is how you can use your very own face cupping kit.
A Quick Recap of Face Cupping
What exactly is face cupping? Here’s a quick rundown.
You have your whole-body cupping, which is very similar to face cupping. Essentially, it’s using the power of suction from large plastic cups to stimulate circulation.
When used on the face, this technique offers improved circulation and boosted collagen. It’s proven to reduce the appearance of wrinkles and fine lines for a more youthful, healthy appearance. It can also relieve muscle pain in your face.
The Steps
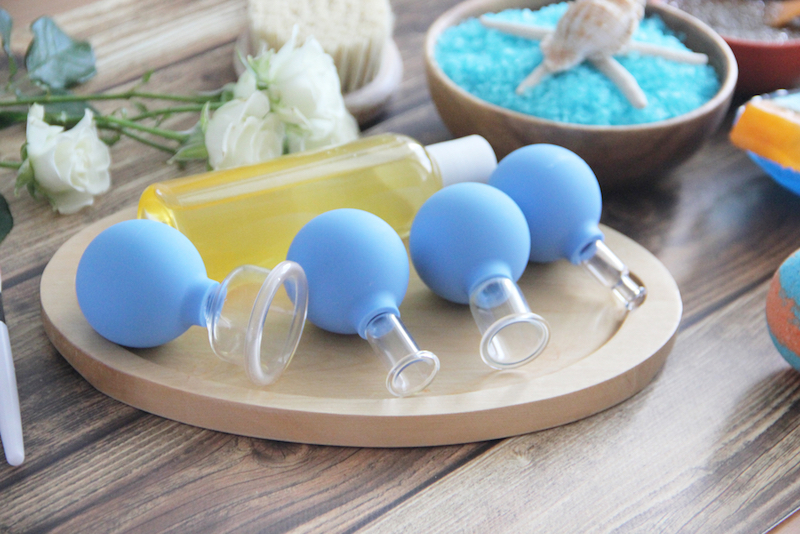
Okay, so you got your at-home face cupping kit. You should have a couple of different-sized “cups” with a soft material (plastic or rubber) bulb and either a glass or plastic opening.
Now one question remains. Exactly how do you use it? Let’s get into it.
1. Wash Your Face
The first step of any good skincare routine is to give your face a good wash. You’re going to want to work with a clean canvas.
Make sure to use a gentle cleanser and warm water (not too hot). Then pat your skin completely dry.
2. Give Yourself a Massage
Once your face is all nice and clean, go ahead and give your skin a little massage. This relaxes the muscles in your face and begins pumping in some circulation.
If you’d like, you can do this massage using facial oil. The oil will aid in the massage and may also provide a better surface for cupping. Facial oils are optional, but they can decrease the risk of bruising.
3. Start Small
If your face cupping kit comes with multiple sizes of cups, start with the smallest one. This can be a less intense way to introduce your skin to the new sensation of cupping and allow more targeted suction.
From there, continue to the larger cups for larger areas of your face.
4. Work from the Bottom Up
You’re going to want to start at your chin around your mouth using the smallest cup in your set. Place the opening on your face, squeeze the end of the cup, then release. Allow the suction to do its thing for only a few seconds, then press again to remove.
From there, work out and up along your cheeks and to your forehead. The larger the area, the larger the face cup you should use.
5. Move Quickly
The key to avoiding bruising or swelling is to move quickly. Bruising can occur in as little as 5 seconds, so make sure you aren’t leaving the face cup in one place for too long.
6. Splash with Warm Water
Once you’ve cupped your whole face, splash your skin with warm water to open the pores. If you used facial oil, you should cleanse as well.
7. Finish Up Your Skincare Routine
Now it’s time to finish up with your skincare routine. If you use a moisturizer, serum, or night cream, go ahead and apply that. Cupping allows your skin to soak up maximum benefits from your products.
When to Use it
There is no specific time of the day that you should practice face cupping. Some people prefer to do it at night before bed just in case bruising occurs.
Since it takes little time, you can easily incorporate face cupping into your daily skincare routine.
Branded content furnished by our promotional partners. The Daily Sundial editorial staff is not involved in its production. Content does not reflect the views or opinions of the editorial staff.


