Making your own cosmetics, lotions, sunscreens, or other products you might use everyday, can have an impact on not only you, but the environment.
Using ingredients you know, can pronounce and easily buy, can mean you know what exactly goes into and on your body. Since the skin is the largest organ on your body, what you put on it can have beneficial or harmful impacts.
In an era where people are pushing for more organic and local products, making your own isn’t a bad way to go. Instead of wondering what exactly is in your sunscreen, or worry that your makeup was tested on animals, you can buy the ingredients yourself.
Also, when you stop using store-bought products, you can make a beneficial impact on the earth. Though it seems small, the impact you have can help decrease factories polluting the world and waste accumulating in landfills.
For this DIY, we’re making lotion, since it’s something everybody should use. It will help keep your skin fresh. There’s also the added benefit of this recipe as some of the ingredients contain natural SPF, meaning there’s some protection from the sun as well.
Cost:
- Everything essential to the recipe was from Whole Foods for about
Ingredients:
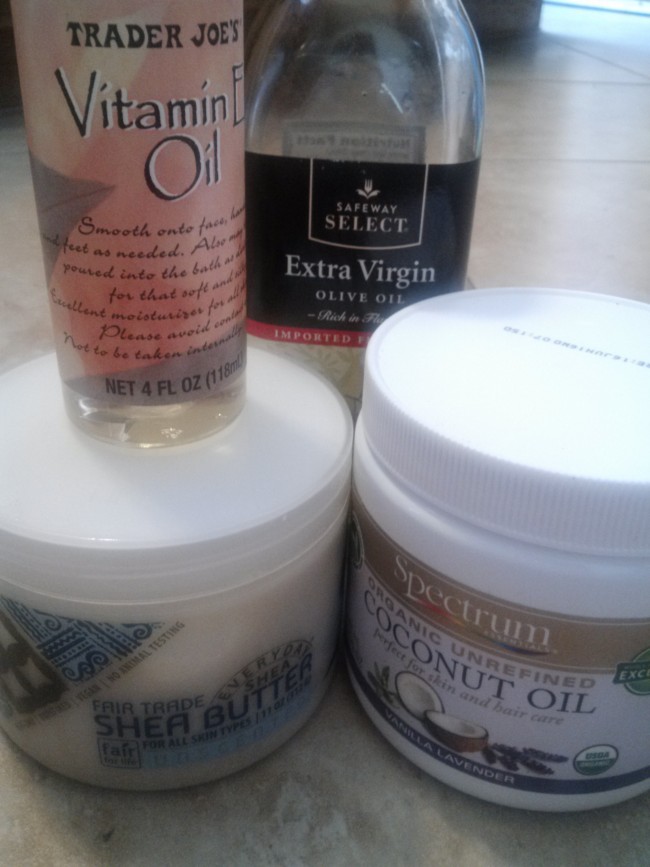
- 1/2 cup of shea butter
- 1/4 cup of coconut oil
- 1/4 cup of olive/almond/avocado oil
- essential oil (optional)
- vitamin oil (optional)
- container
- double boiler or a saucepan with a metal/glass bowl
Steps:
- Measure out all of your ingredients. Since the coconut oil and shea butter are mostly solid, I spooned them into my measuring cup. This can be messy, but luckily you can just rub in the oil or butter into your skin and it’s okay.
- Add them into your double boiler, or if you’re just a college student with the bare essentials like me, you can make one out of a saucepan and metal or glass bowl. Just add water to the saucepan and make sure the bowl sits comfortably on top of the saucepan. The bowl shouldn’t touch the water though, and you honestly don’t need a lot of water. A fifth of the way up should work fine.
- Melt the ingredients over medium heat. This should only take a few minutes.
- Pour everything into another bowl and stick it in the fridge for about 30-45 minutes.
- Wait until the ingredients are starting to solidify before taking out. The edges will start to harden first.
- Take out of the fridge and start beating it with what you have on hand. You can use a hand mixer, or just use your own arm strength to whisk it. I used a fork and it worked out fine.
- Beat the mixture until stiff peaks form when you take the whisk/fork/hand mixer out.
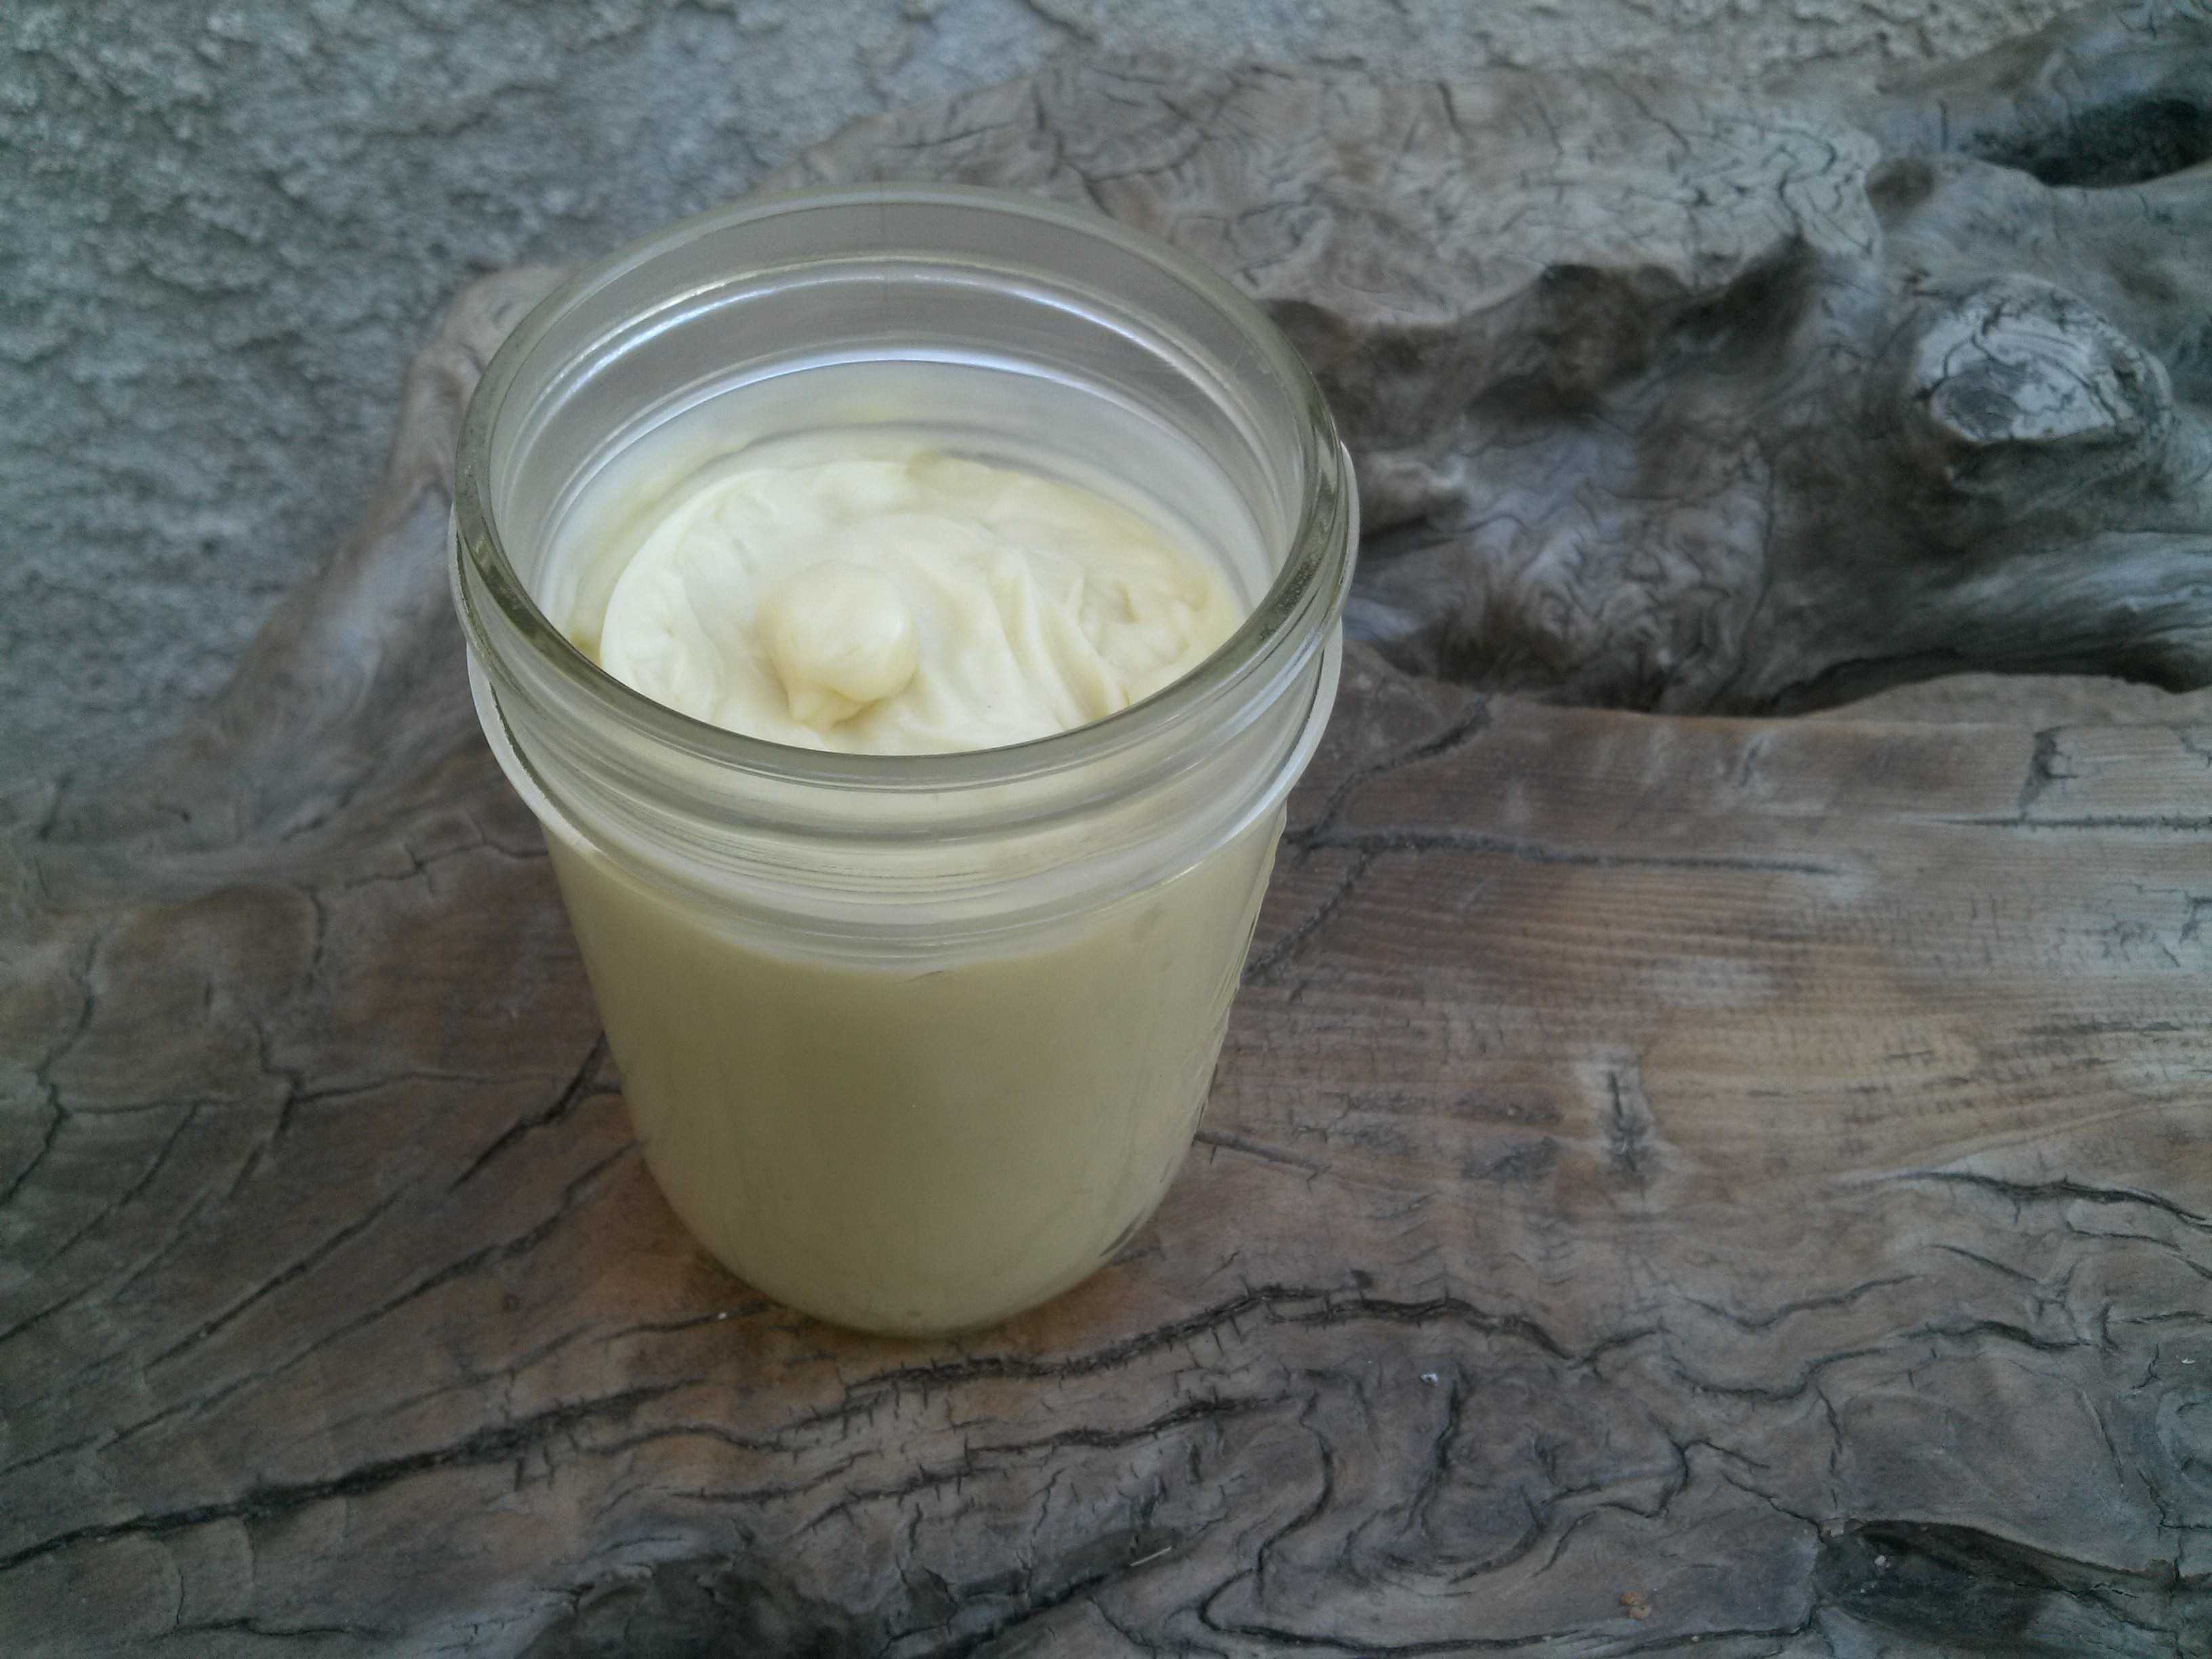
- Transfer to a container of choice.
Extra Tips:
- If you want it to smell nice, add a few drops of essential oil. This can range from five to ten drops, depending on how much you want it to smell. Essential oils can be expensive depending on where you get them, so I opted out and bought coconut oil that already had scents in it. If you have some on hand, go nuts, but if you don’t, don’t worry too much about it.
- I added vitamin E oil to my mixture because I had some on hand, and it’s good for the skin. Other vitamin oils could work too. Just do 1/8 of a cup (or two tablespoons) of your olive/avocado/almond oil and 1/8 of a cup of the vitamin oil.
- If you want it to last longer, especially during the summer, keep it in the fridge. It’ll start to separate if it gets too hot.
- Since you’re using oil, it will be a bit greasy until it’s really worked into your skin and dries.
